Setting up a single display with a SureVue
Setting up a single display with a SureVue C1 or SureVue D1 player
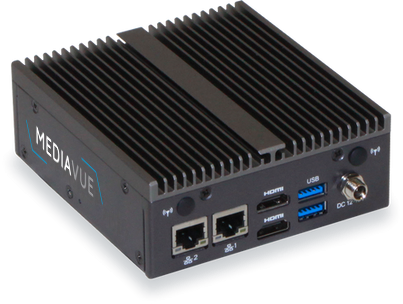
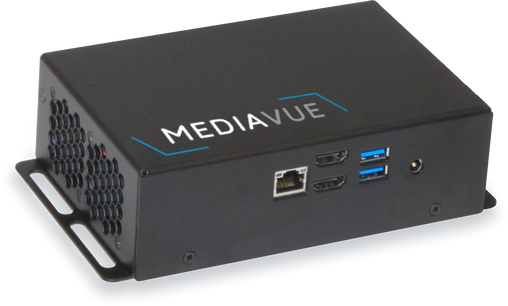
Step 1: Connect the displays to your player
Connect the single display to one of the two HDMI ports on your Surevue using an HDMI cables. Make sure the cable is securely connected to both the player and the displays. Then, ensure that the display and player is receiving the appropriate power source.
Step 2: Select the resolution and orientation of the display
Both player have built-in setup guide that allows you to configure the display to your specific needs. Using the software preinstalled software on the player, you can configure the layout and orientation of the display as necessary. With just one screen, you have the options of putting the screen in landscape or portrait orientation. Once you have selected the orientation, the next step is to select the appropriate resolution for your display. In this case, the HDMI port for the C1 is capable of 4K@30Hz resolution, the D1 is capable of 4K@60Hz. On screen, you’ll be provided with resolution options that fall within the 4K spec, as long as the screen can also provide that resolution. This configuration can be done locally on the player through the display tab, through the player’s web interface, or through through Active Network Manager.
Step 3: Internet connection setup
Both players can connect to the internet via either Wifi or Ethernet. If you choose to use Wifi, ensure that the player is connected to a strong and stable Wifi network. If you choose to use Ethernet, connect the player to your router or switch using an Ethernet cable. You can also configure your DNS and Proxy settings as necessary using the advanced settings, or through Active Network Manager.
Step 4: CMS Configuration
Both player support various content management systems (CMS) that allow you to manage and schedule content for your video wall. You can configure your CMS using the software provided by the player. The players also supports various media formats such as video, audio, images, and web pages. You can upload your content to your CMS and schedule it to be displayed on the video wall at specific times. CMS options include Appspace, Korbyt, Navori & 22Miles
Step 5: Test the configuration
Once you have completed the configuration, it’s time to test the configuration. Display a test pattern or video content on the video wall and check that each display is showing the correct portion of the content without any stretching or distortion. Adjust the video wall settings as necessary until the video wall is functioning as expected.
With these steps, you can create an impressive application that will capture the attention of your audience and deliver an optimal viewing experience.
Please see the following for more information on our SureVue digital endpoints